How To Board Out A Loft
Have you ever felt your home wasn’t quite big enough? Well, if you want things to look up, try looking up.
That’s right, to your loft. For a few pounds and a bit of elbow grease you could create the extra space you desire.
Boarding your loft is the effective way to create more room, store your belongings safely, make additional floor space and maybe even insulate your home a little more efficiently.
Get Planning
The first step in any DIY project is always to do your homework to ensure you have exactly the right tools and, in this case, the correct number of boards.
First of all, measure up and work out the area you need the boards to cover. Decide whether you want to board the entire loft or – as many people do – just the central area. This is because the angle of the roof often means the edges aren’t very useful to store large boxes.
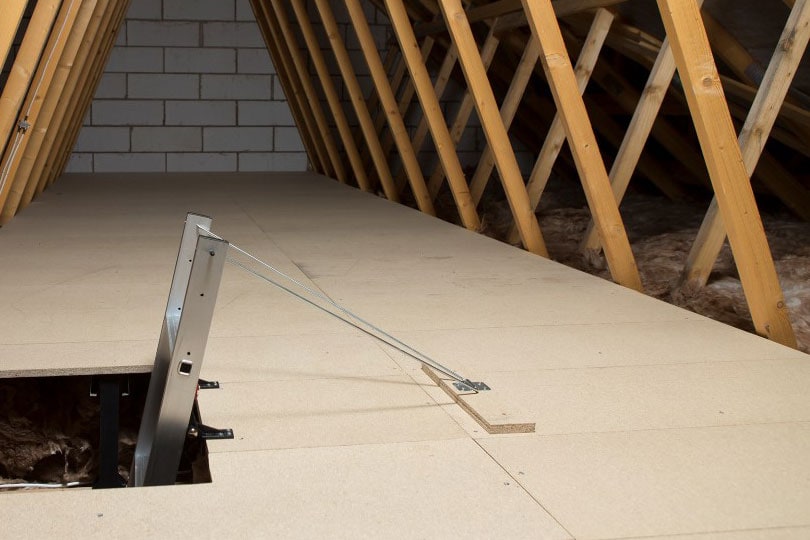
Also, make sure your boards are not too big to fit through your loft hatch.
And what about the belongings currently up in your loft? If you haven’t got space elsewhere then consider putting them in storage while you get the job done.
The Tools
Make a checklist of the tools you need. For this job you require: tape measure, drill, hammer, gloves, correct clothing (including dust mask and knee pads), screwdriver, pencil, jigsaw and workbench (if boards need to be cut).
Total Revamp?
What are you planning for your loft space? If you are expecting to spend a lot more time up there – even if it’s just storing away your possessions or filing important papers – it could make sense in the long term to install (additional) lighting and a secure pull down ladder to make every trip up there that much easier.
Insulation
Homeowners are recommended to have at least 270mm of insulation on the loft floor. This was recently increased from 200mm, so if your insulation has been laid for some time it is worth checking as this could lead you to failing a building control inspection. Additional insulation could help your property meet Minimum Energy Efficiency Standards if you ever wanted to rent the property out.
Although insulating the loft may seem an additional and frustrating chore it could save you in the long run, and also help you save on heating costs. However, laying 270mm of insulation often means the material will be higher than your joists and you may have to consider building a raised loft floor before you start putting your boards down.
Shop Around
Your floor boards will come in different sizes and at different prices, so make sure you visit a few local and chain stores to get the best value.
Start Work
Lay your first board and cut it to ensure it fits to the centre of the final joist it sits over, avoiding any overhang.
Lay your remaining boards in a staggered pattern to give additional strength avoiding weak spots. Continue to cut them to size. If your boards have tongue and groove edges, slide them in to fit when cut. Then hold to position with screws along the join. Ensure no wires are trapped in the boards.
When your floor is taking shape make sure you cut and fill any additional spare parts of board to ensure there are no gaps, then screw in. And there you go, a sturdy new floor space in your loft.
Want help to keep your belongings safe while you sort out the loft? Get a quote for storage from us today.


This is a great way to start boarding out a loft. I really like the article. Thank you for sharing this.
An interesting post. Thank you for sharing!